Considering the vast attack surface and flat network architecture, Kubernetes workloads are particularly susceptible to network-based threats. While following best practices like workload access controls, workload-centric IDS/IPS, and WAF can help prevent and block attacks, anomaly detection has become crucial in today’s IT landscape to proactively anticipate security threats. This capability significantly enhances network security and operational efficiency by identifying unusual or potentially harmful network activities. Businesses must be able to detect and respond to various types of anomalies, such as reconnaissance scans, protocol deviations, and volumetric changes.
Now, let’s explore the advantages of spotting anomalies in network traffic early on:
- Enhanced Security: By identifying security threats and malicious activities, such as Domain Generation Algorithms (DGA) or suspicious data flows, you can take proactive measures to address potential issues.
- Zero Trust Networking: Implementing Zero Trust Networking, which assumes no inherent trust for network entities, becomes more manageable with anomaly detection. Continuous monitoring of network traffic deviations helps enforce strict access controls and bolsters overall network security.
- Operational Efficiency: Network anomalies often signal operational problems or performance bottlenecks. Swiftly recognizing these issues can reduce downtime and optimize network performance.
- Resource Optimization: Efficient resource allocation is critical in cloud-native environments. Identifying resource inefficiencies allows organizations to optimize allocation, reduce costs, and enhance performance.
- Compliance and Auditing: Meeting regulatory and security compliance standards necessitates thorough network monitoring and reporting.
- Scalability: As network environments expand, manual monitoring becomes impractical. Anomaly detection seamlessly scales with the network, adapting to changing workloads and traffic patterns.
Calico’s anomaly detection plays a vital role in fortifying network security, streamlining operations, optimizing resources, ensuring compliance, and proactively mitigating threats. It equips organizations to effectively protect their networks, data, and applications, adapt to evolving threats, and maintain network integrity and performance.
Example
Let’s see a practical example of Anomaly Detection simulating a port-scan attack. ID: port_sca looks for pods in your cluster that are sending packets to multiple ports. May indicate an attacker has gained control of a pod and is gathering reconnaissance on what else they can reach.
Step 1: Requirements
To use L7/HTTP anomaly detectors, we must enable L7 logs on the cluster by:
Enabling the Policy Sync API in Felix:
kubectl patch felixconfiguration default --type='merge' -p '{"spec":{"policySyncPathPrefix":"/var/run/nodeagent"}}'
Configuring L7 log aggregation, retention, and reporting:
For this demo, I have only changed the “flowLogsFlushInterval” to 30s.
kubectl patch felixconfiguration default --type='merge' -p '{"spec":{"flowLogsFlushInterval":"30s"}}'
For more information, see our Felixconfig documentation.
Creating or updating the ApplicationLayer resource named, tigera-secure to include a logCollection section of the file, _api.html here.
Example use for this demo:
apiVersion: operator.tigera.io/v1
kind: ApplicationLayer
metadata:
  name: tigera-secure
spec:
  logCollection:
    collectLogs: Enabled
    logIntervalSeconds: 5
    logRequestsPerInterval: -1
Step 2: Enable and disable anomaly detectors
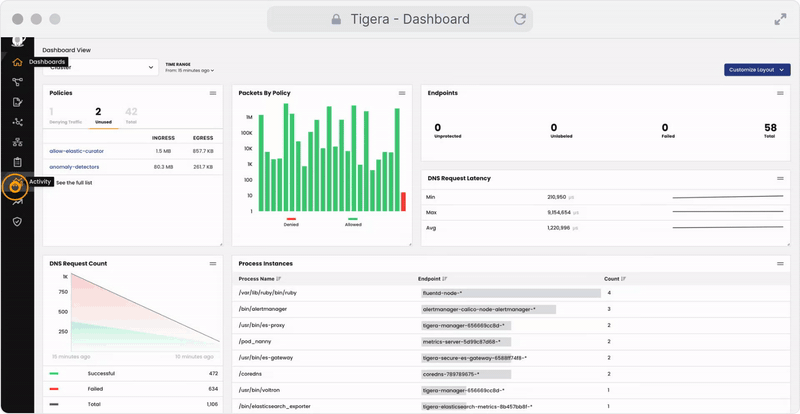
In the left navbar, in Calico Cloud or Calico Enterprise, click Activity > Anomaly Detection. On the Anomalies page, click the action dropdown and select Enable or Disable. The Status and Last Run columns immediately show the status.
For the test, I enabled “port_scan”.
Step 3: Simulate the attack
Add app1, “blue” namespace and app2 to simulate a port_scan attack. The app2 is being added to the namespace “blue”.
cat << EOF | kubectl apply -f -
apiVersion: v1
kind: Pod
metadata:
  name: app1
  labels:
    name: app1
spec:
  containers:
  - name: app1
    image: alpine:latest
    command: ["sleep", "infinity"]
–-
apiVersion: v1
kind: Namespace
metadata:
  creationTimestamp: null
  name: blue
–-
apiVersion: v1
kind: Pod
metadata:
  namespace: blue
  name: app2
spec:
  containers:
  - name: app2
    image: alpine:latest
    command: ["sleep", "infinity"]
EOF
Result:
kubectl get pods -o custom-columns=NAME:.metadata.name,NS:metadata.namespace,IP:.status.podIP -A | grep app

app2                                                              blue                           10.244.147.93
app1                                                              default                        10.244.147.92
Let’s add nmap capabilities to app1 and launch a port scan against app2.
kubectl exec -it app1 -- apk add nmap
kubectl exec -it app1 -- nmap 10.244.147.93
We wait a few minutes for the alert to come up.
Step 4: View and analyze alerts
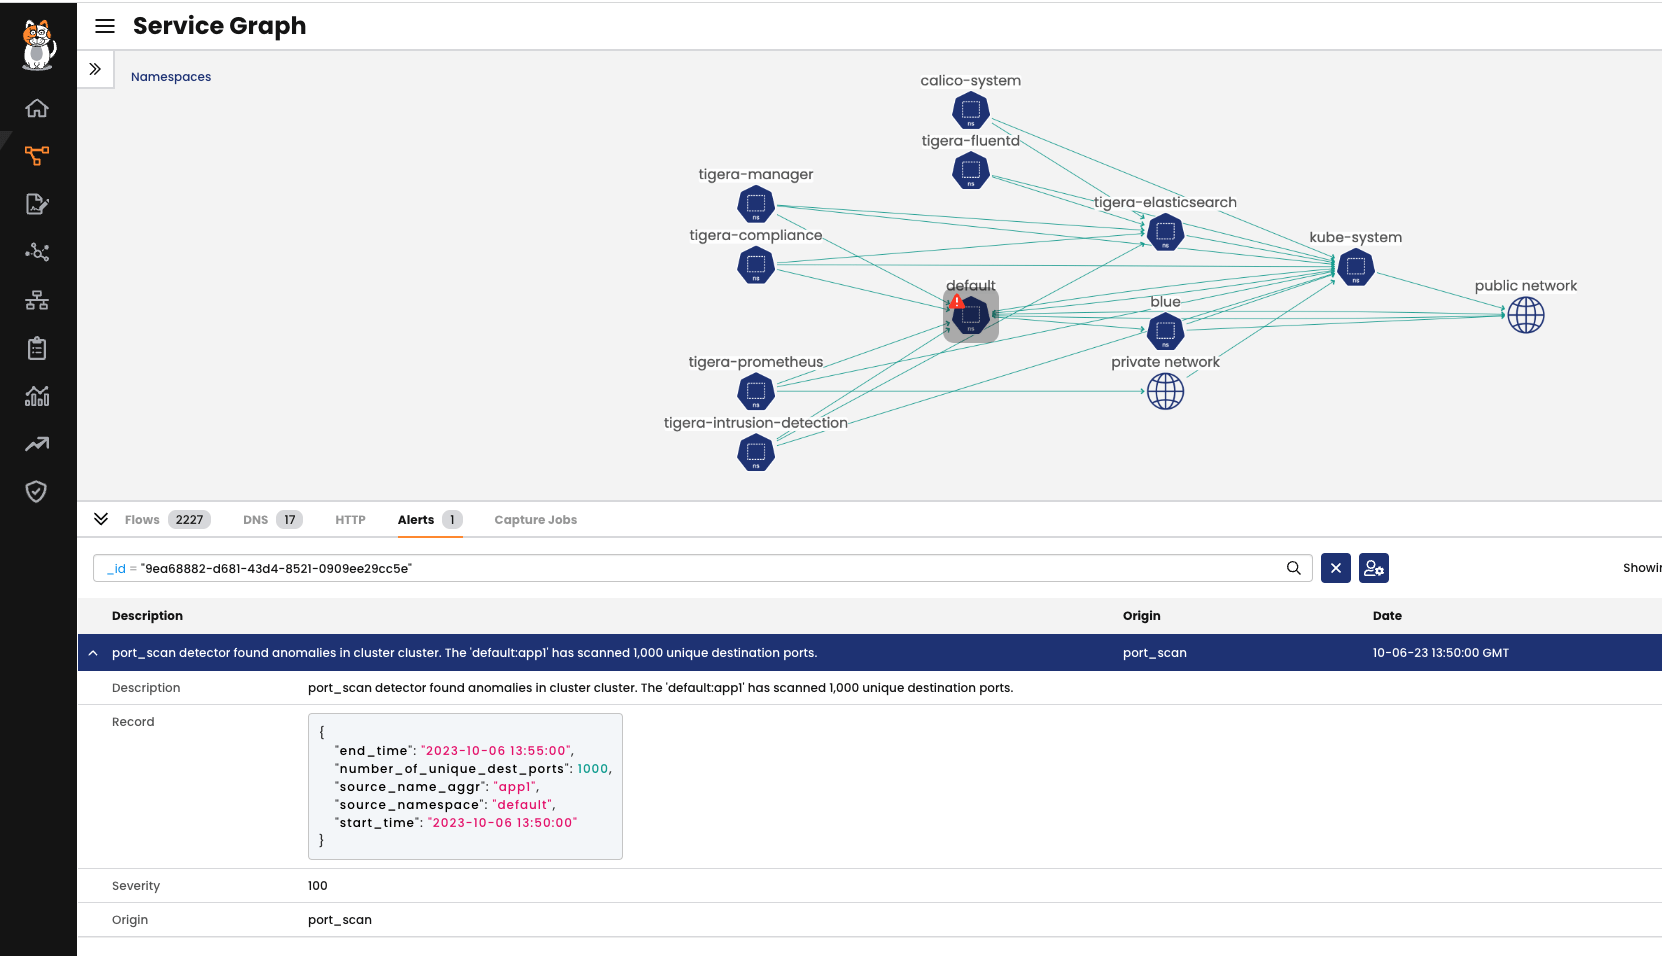
From the Service Graph, we can see that the “Default” namespace has a red alert icon. We can click on that to see more details about the issue and expand the alert information.

High definition screenshot:
We can do the same from Activity > Alerts page.

Step 5: Take action
If you find anomalous behavior that is suspicious but not urgent, you may want to disable the detector to research the root cause. For any critical anomaly, you may need to quarantine pods immediately by applying a network policy. A best practice is to have a network policy ready for editing (as part of your tier and policy lifecycle workflow) to ensure that you can quickly enforce it. For more information, please visit our network policy documentation.
Conclusion
Calico’s anomaly detection is crucial for network security and efficiency. Demonstrating its implementation through a simulated port-scan attack highlights its practical value, showcasing its ability to identify and respond to threats effectively in real-world scenarios. This proactive approach is essential in today’s evolving threat landscape.
Ready to try Calico node-specific policies? Sign up for a free trial of Calico Cloud.
Join our mailing list
Get updates on blog posts, workshops, certification programs, new releases, and more!